Save Newport Real News in Newport Beach

A few weeks ago we posted about new life being breathed into BrewCo. I guess this triggered some sort of idea, and many people have since asked me about my own home-brewing and how they can do it too. While I’ll be the first to admit that I prefer to experiment and that while I’ve had some really magnificent results in the past, I’ve had an equal amount of duds. You can’t go wrong with cider– but if you want the real deal, leave it to the pros! 🙂
Here’s a great recipe to get started for a local brew. It’s best-done during the cold weather to avoid long-chain alcohol from forming (which results in a skunky taste and bad hangovers)– so we still have a few weeks left!
Here’s the original recipe, ripped word-for-word from the original post, here: http://savenewport.com/2016/12/09/how-to-make-hard-apple-cider/
Every year around wintertime, I create a batch or two of hard apple cider. Each year I do it a little bit differently, but it always turns out fantastic. There are many rumors that you can go blind from homebrew, but that’s only if you distill it (which is illegal) improperly (which is dumb). The most dangerous that consuming fermenting apple cider really gets is that it could get you ill if you allow it to mold. Here’s a pro tip: Don’t drink it if it grows mold.
With that out of the way, let me tell you everything you need to make this happen!
My instructions will be for a five-gallon batch, but you can easily start with just a single gallon and brew it in its own container, saving some cash (but not looking nearly as cool! Yes, a big carboy container really is only about looks [… and floorspace]).
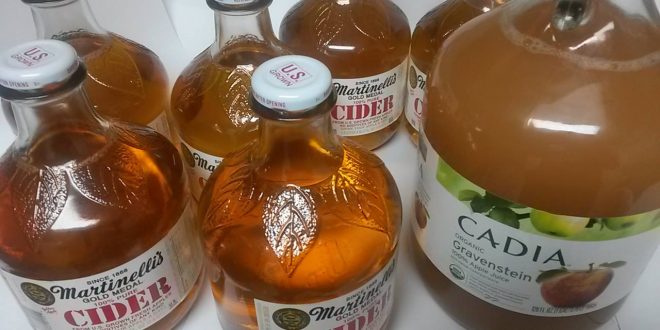
First, go out and find some apple juice or apple cider. No, “apple cider” is not already fermented. That’s called “hard apple cider”. Geesh, get with it! Here’s what you need to look for:
– Make sure that your apple juice is not preserved with Vitamin C (also known as ascorbic acid). This will kill off all the yeast we’ll need to add in later. If you accidentally buy some with this in it, just drink it, because there’s no way you’ll get fermentation out of it. You’ll just have a yeasty tasting apple juice (gross)
– If you have the option to obtain NON-pasteurized apple cider, jump on it! Pasteurized will work too, but it will take longer and the taste isn’t nearly as magical. Usually, these can only be found near apple orchards– but if you know of any, they are worth it (and let me know too so I can get in on the deal!).
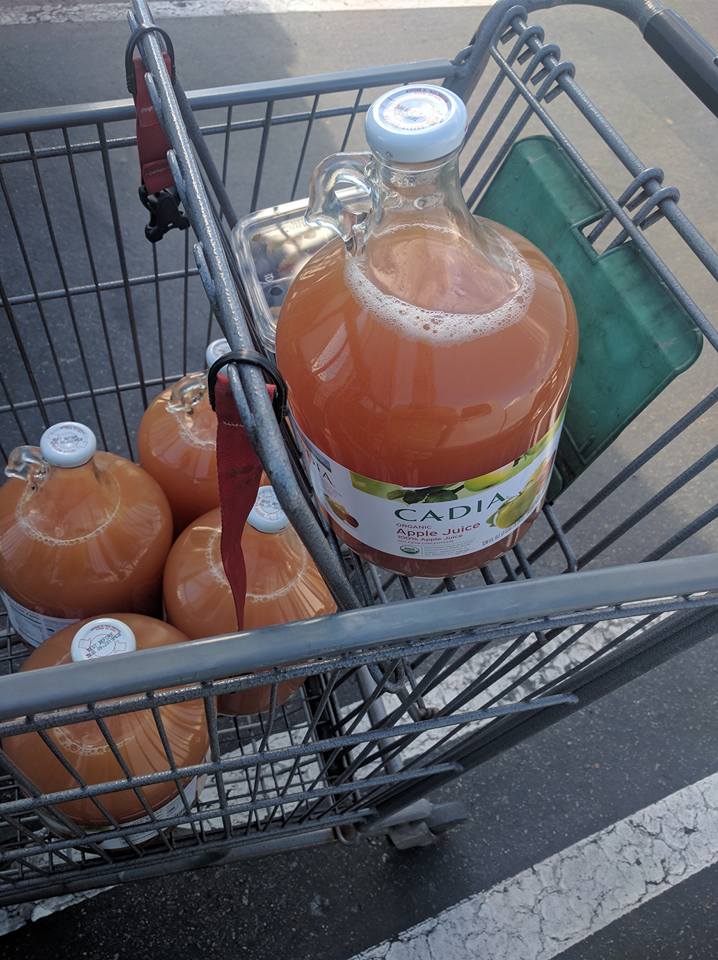
– Around Newport Beach, I buy this from Mother’s Market– it’s not the best to make it with in my opinion, but it’s literally the only stuff I can find around here (although every other year or so, I do find Martinellis, which is great). I picked five of them up for about $9 each:
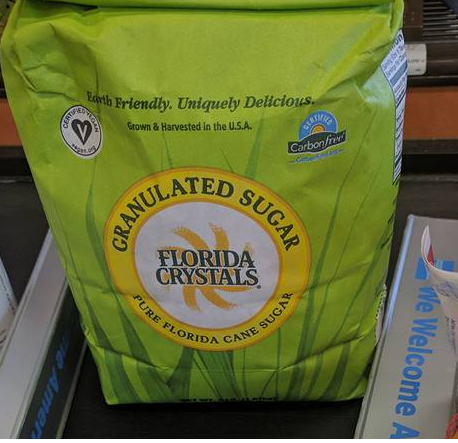
Second, you’re gonna need something for all those yeast to feed off of. Those bad boys are gonna start getting hungry as soon as they are dipped in the juice, and they know what they like: Cane sugar. You can use as much or as little as you like (or even none), but I recommend no less than one half pound and no more than two pounds per 5 gallons. As sugar increases, the final alcohol content will raise, but the “dry” taste will become more apparent in your cider. I’m a fan of the dry taste, so for me, this works.
I picked up this natural cane sugar from mothers, too, for $2.99:
Now comes the real magic. You’re gonna need the yeast, and you’re gonna need to quarantine the solution from the rest of the air so that gross stuff doesn’t fly in there and make you sick. You’re also going to want to keep the area between 68 and 72 degrees– so find a spot in your house where that can happen.
Thankfully, the quarantine solution has already been figured out for you. If you’re making just a single gallon, use the bottle it comes in. If you’re making five gallons, buy a plastic (or glass, if you’re fancy) carboy from your nearest homebrew supplier (I use Windsor Homebrew Supply Co at the corner of Bristol and Baker)
If you’re picking up a carboy (aka giant bottle), know your size. These things will get bubbling so if you’re going to make five gallons, get a 5.25 gallon carboy or be prepared to clean up a mess of bubbles every day. Your choice! Carboys will run you from $25-55 at Windsor depending on what size, shape, and composition you decide to get.
Whether you go with a carboy or you’re using the bottle it came with, you’re gonna need a cork and a bubbler (I mean “airlock”. Sorry, beersnobs). This will seal off your good stuff from evil outside forces like moths and mold. I picked both up for a combined whopping total of $3.25 from Windsor.
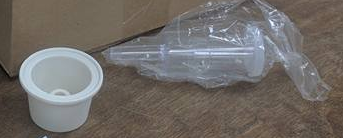
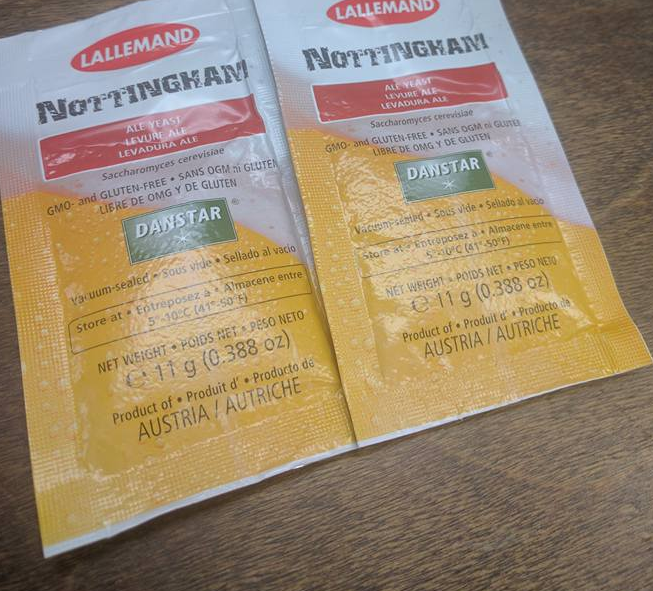
Next is the part that you will really need to figure out for yourself. This is where I really experiment every time. Oftentimes I use Champagne Yeast, but this time I bought Ale Yeast at the recommendation of the worker at Windsor. No matter what kind of yeast you get, it will eat the sugar and “expel” CO2 and alcohol as byproducts. It looks like this and set me back $7.98 for both packages combined:
Now it’s time for the setup.
Bring everything home, hand-wash the cork and the bottom of the bubbler with dishsoap and hot water to sterilize them. Get out a big funnel and pour about half of your apple cider into the carboy, then pour your desired amount of sugar in (0.5 – 2.0 lbs) and the yeast (both packages if you’re doing 5 gallons). Now pour the rest of the cider in and make sure that you use this pour to wash in all the sugar and yeast stuck to the side of the funnel. Be careful, as it will start to bubble up on the last gallon.
Quickly cap it off with the cork, and stick the bubbler in. Open the top of the bubbler and pour water in until the “bell” on the inside floats. Close the bubbler.
Now, you’re all set.
In about 12-18 hours, you will see the cider begin with small CO2 bubbles:
and then large bubbles in the next few days:
If it overflows a bit with bubbles, just wipe it down– it’ll stop in a day or two when it stabilizes.
In 10-14 days, it will stop bubbling and be ready to consume! (Make sure that it has REALLY stopped bubbling (no bubbles in 2 days) or you’ll have a not-fun stomach!)
NOTE: Don’t put sugar in it after you close it up to allow it to begin brewing. The yeast will react to it and it will fizz up like diet coke and mentos. It’ll also shock the yeast.
From here on out, everything is optional:
– You can throw it back into the original jugs (DONT screw the lids on them! It will still be building pressure!) and then pop them into the fridge. Glass is unforgiving at pressures more than just a few PSI. If the yeast are still eating, that glass will become shrapnel. Not cool.
– Or, you can force-carbonate in putting it into a keg (This is an advanced step, and if you do it while the yeast are still alive [hint, they’re always alive until they are boiled], then you will have constructed a bomb.)
Other than that, though, enjoy your fermented cider and share it with your friends– a great winter tradition and a fun science experiment for the kids to watch… and for you to consume!